How it's Made
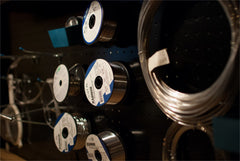
It all starts with the wire.
Mostly 5356 hard temper bright aluminum wire. Starting with spools between 1 and 20 pounds, I wind the wire around a steel mandrel, hurts my hands after awhile so I do it in bulk as few times a year as I can manage. Depending on what look I'm going for I can choose different wire gauges or wire thickness. I can make things look airy and delicate or thick and chunky.
The result of winding the coils is a long floppy spring. The rings are not ready for me to work with yet, first I need to cut the spring down one side to release each ring. To cut down on the amount of material lost I use a saw blade that is only .006" thick (1.5 x thickness of a hair). After cutting I tumble the rings to polish them.
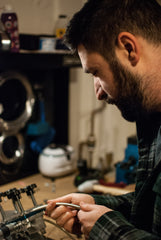


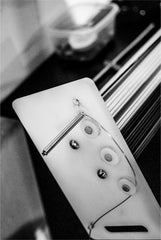
The last step is where the magic happens (and unfortunately is the hardest to photograph). I stabilize the ring in one set of pliers, and using the other set twist the ring to be in the position I want. They always end up closed flush enough you can't feel where it was cut in the first place. Closing the ends flush is the biggest hurdle when learning the art. With a few hundred thousand rings under my belt, I've gotten fairly quick at it.
[powr-image-slider id=2bfbbbf9_1462562740149]
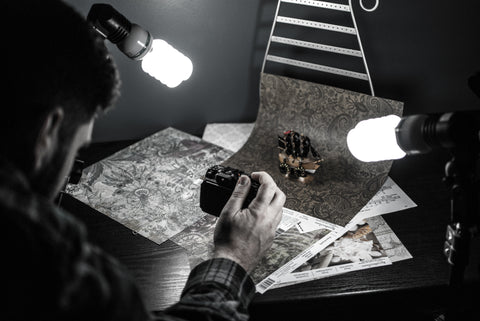
Oh yea, for website reasons, I've had to learn a lot about photography, and to convince you to buy the shinies, I've picked it up as a second hobby.